
Bookings by Customers
Customers book appointments through your booking page – without registration and without a follow-up phone call. This page shows what your customers see and what happens in your calendar.
How Customers Reach the Booking Page
Every resource has its own booking link (see Resource Channels). You share it by email or messenger, add it to your ads and property listings, print it as a QR code ("Link Image" in the appointment booking settings), or embed the booking page as a widget on your website (see Embed Widget). Via a Booking Channel, you offer multiple resources under one link.
What the Customer Sees
The booking page shows the resource on the left – for example, the property – along with the appointment types offered and, if you allow it, the contact details of the responsible person. On the right, under "Select date and time", the available time slots are listed, grouped by day.
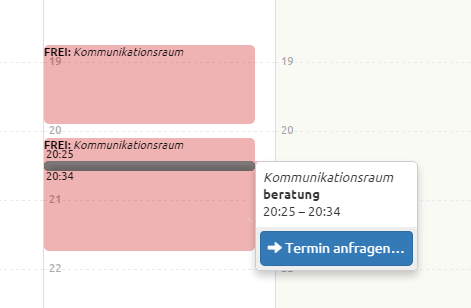
- If the resource offers multiple appointment types, the customer selects the appointment type first; the time slots then depend on its duration.
- timum shows only time slots that are truly available. When an appointment is booked, all start times that would overlap with it disappear as well.
- You define in the booking layout which view customers see – list, compact day columns, calendar week, month, with or without resource details (see Booking Channels).
The Booking Dialog
When the customer clicks a time slot, the booking dialog opens showing the date, time, resource, and appointment type. From this point, the time slot is reserved for three minutes so that no one else can book it while the customer enters their details. The remaining time is displayed; if it runs out, the customer can still click the "Book" button, but someone else may have been faster.
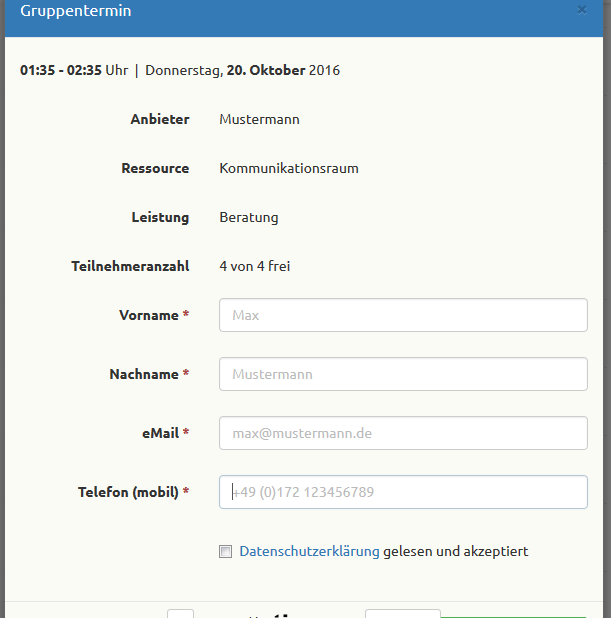
The customer enters:
- First name, last name, and email address (required)
- Mobile number (optional; needed for SMS reminders, see SMS Notifications)
- a message to you (optional, up to 600 characters)
- consent to the privacy policy (required)
No registration with timum is required. In the Professional plans, you can request additional fields, such as financing status or desired size (see Generic Website Integration). If the customer arrives via a personalized link from your CRM, their details are already known, and they book without entering anything.
Note
Book or Request
What happens after clicking the button depends on the booking mode of the booking channel (see Request vs. Direct Booking):
- Direct booking ("bookable"): The button is labeled Book. The appointment is immediately binding. The customer sees "Appointment booked" with all the details, can add the appointment to their own calendar with "Add to Calendar", and receives the confirmation by email.
- Request ("requestable"): The button is labeled Request. The customer submits an appointment request and receives an acknowledgment. Until you accept the request, the time slot remains open for further requests – multiple prospects can request the same time slot. The appointment only becomes binding once you accept it (see Handling Appointment Requests).
📷 [Replace image: confirmation "Appointment booked" – screenshot-1788517873003-2.jpg] — insert image here
You set the default for new resources under Settings → Process Settings, and the booking mode per resource and channel in the appointment booking settings.
What Happens in Your Calendar
- The booking appears immediately in your timum calendar; the responsible contact person receives a notification by email.
- If a CRM is connected, the appointment is created there as an activity, and the customer is matched to an existing contact or created as a new one (see Interface with CRM Systems).
- If your Outlook, Apple, or Google calendar is connected, the appointment appears there as well (see Synchronize Outlook).
- The customer automatically receives a reminder before the appointment and can cancel via the link in any email (see Cancel Bookings).
Tip